Monday 25 April 2016

Forge World Sigismund

On the last day of my holidays, I managed to finish off my favourite character of the Heresy, Sigismund. I must say I had a lot of fun painting him, despite not being too big a fan of the model when I fist saw it. However with a head swap for a cool Templar Brethren helm, he now looks the part.

I'm quite happy with how he turned out and am looking forward to using him in some games soon.

I also decided to use a new background, which I think helps.


I went the extra mile for this model with the black highlighting. Very pleased with how it turned out!

Thanks for looking.

Cheers!

Saturday 23 April 2016

Painting up some much needed terrain

I kinda got a bit sick and tired of playing on a painted board with my painted armies, but with unpainted terrain. So I decided to make a start in fixing that.

Ages ago, I bought an Imperial City, that big set that came out for Cities of Death. I made up three buildings, and that's it. I decided to make up more buildings with the vast amount of sprues I have lying around. I also painted up the building that's be sitting there for years.

Here are my efforts. For all these buildings I use craft paint, and sparingly use some washes on little areas to do some effects.

I decided early on to do the buildings in different colours, to make it look more interesting.

I actually ruined this piece initially with a too heavy dry brush of white. I then cracked out some of my Secret Weapon washes such as Baby Poo and Sewer Water, and filthed it up. It doesn't look too bad now. I also used the verdigris and rust on the metal and brass.


 This looks a bit neater. My son helped paint it, and picked the colour, hence why its a bit salmon.

Should be good to use them in a game, along with my new mat. I figure with my remaining sprues I can make 2 more buildings, so all up I can have 7 buildings of various sizes which should be enough for most games.

Thanks for looking.

Cheers!

Tuesday 19 April 2016

Battle for the stars...30k Heresy battle

"T-minus 50 seconds to impact."

 So it has come to this, thought the 405th Captain. To fight fellow Astartes. Inconceivable that one Legion could have fallen, now another has. The Alpha Legion were always shrouded, always concealed their intent. It is none too surprising that they fell, though the lack of intel on them, their command structure and their way of war was a concern. 

They would have to fall like all others before the might of the 7th, bolter in hand and hammer them unto death and oblivion, like so many of the xenos races faced during the Great Crusade. I just wish...."Impact in 5 seconds". Alexis looked back to his assault team and uttered the oath confident that it would lend them strength of purpose as it had thousands of times before. "Primarch-Progenitor, to your glory and the glory of Him on Earth!

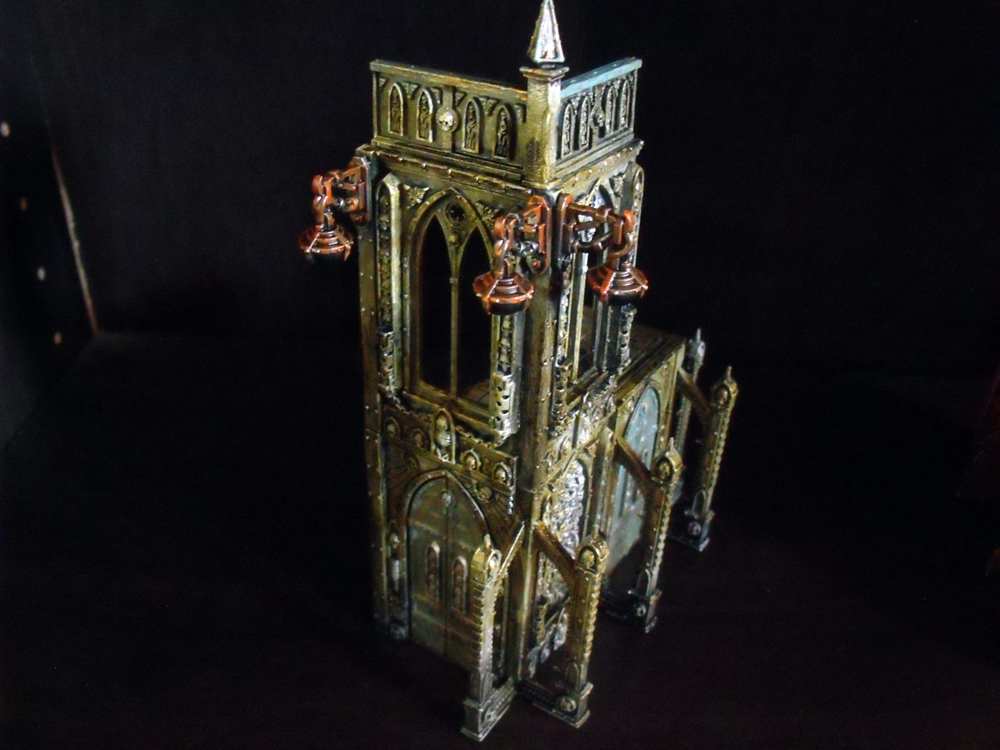
This a 1000pt game of Zone Mortalis using the Space Hulk tiles. For the rules adjustments we made, you can have a look at my earlier post here. If you would like to see the earlier campaign game, have a look at our game in the Rad Wastes.

This game pits the Imperial Fists vs Alpha Legion on an orbiting Space Station, above the contested world. We decided to use my Space Hulk tiles (just one set), and set out a tight series of corridors to represent the station in part. First up are the lists we used.

Imperial Fists Zone Mortalis Assault Force (attacker) 1000pts
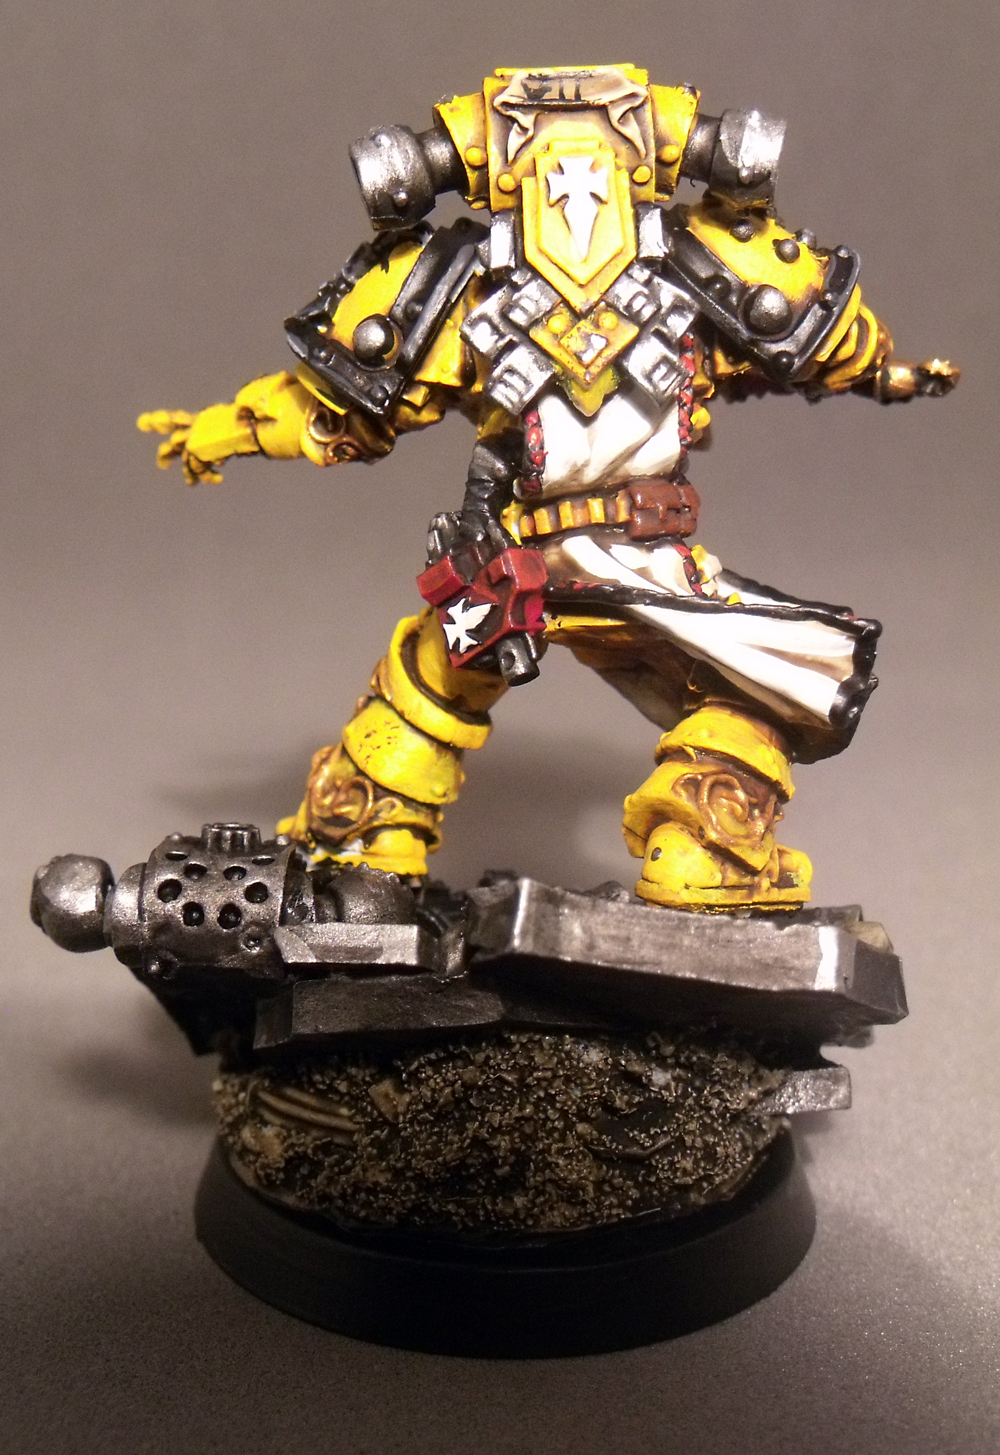
Alexis Polux 165


10 Veteran Tacticals 255
- 2 Heavy Bolters with Suspensor Webs
Sergeant
- Power Fist
Sniper

Apothecary 45

5 Legion Terminators (Huscarls) 255
 - Terminator armour (Cataphractii)
- 5 Storm Shields
- 1 Thunder Hammer
- 2 Chainfists

Omni (Primaris Medicae) 145
- Terminator Armour
- Storm Shield
- Solarite Power Gauntlet

Legion Dreadnought  125
- 2 Dreadnought close combat weapons

Alpha Legion Zone Mortalis Defence Force (defender) 1000pts
Vigilator 125
- artificer armour
- power weapon (maul)
- melta bombs
- refractor field

15 Tactical Space Marines 225
- legion vexilla
Sergeant
- artificer armour
- melta bombs

10 Terminators 385
- Terminator armour (Cataphractii)
- 9× combi-bolters
- 9× power fists
Sergeant
- combi-bolter
- chainfist
- power dagger

Apothecary 55
- artificer armour

5 Headhunters 210
- heavy bolter
Headhunter Prime
- artificer armour
- power fist

Legiones Astartes: Alpha Legion (Infiltrate)

The Mission
As is my custom, I have forgotten what the mission title is and will endeavour next time to actually write notes down. I knew the important bits though, and that was to kil kil kil. The Alpha Legion got to pick the starting location for their forces, and due to them all infiltrating or in reserve, were done. So that left me deploying and going second (unless I seize the initiative). With that in mind, I put Polux, the apothecary and Veterans in reserve (as I had to), and deployed my Huscarls, Omni and the Dreadnought as I knew the terminators couldn't run and would be out of the game if they cam on later, and I wasn't brave enough to use Polux's ability to teleport them in on space hulk tiles without a transponder. With that set we were ready to start.
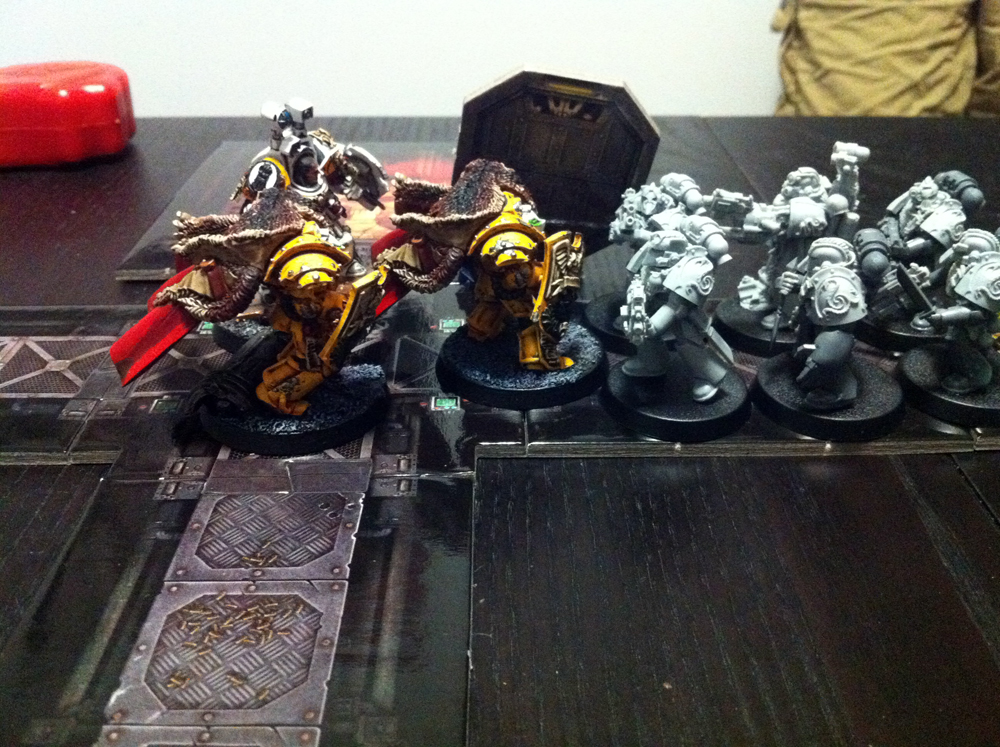
Start of the game deployment. I'm sure you notice the 10 man Terminator squad to the flank of my forces. Headhunters plus an apothecary were on the far end close to the Huscarls.
End of Turn for the Imperial Fists and Alpha Legion.

Not a whole lot to show for an entire turn. No line of sight so no shooting, just moving about ready to strike.
"We are getting some large readings on the auspex..."
Alpha Legion Turn 2

The Headhunters fall back into defense positions, eager to take down a few Huscarl's. The Terminators continue to plod forward in an effort to catch the dreadnought. Reserves failed to turn up at this stage.


Imperial Fists Turn 2

The Huscarl's open the door and plod down the corridor towards the Headhunters. The Dreadnought, knowing where the reserves will turn up, starts to head down that way, away from the mob of Terminators. Just to be sporting, I too fail to summon my reserves. Seems Polux and crew are ensuring my lead forces have a chance at some honour.
The Headhunters let rip with their overwatch fire, killing two Huscarl's! The Huscarl's simply fail their assault charge as they now need a 9 rather than the below average 6 that was required before.
Alpha Legion Turn 3

The reserves again leave it up to the initial forces, failing to turn up. The Headhunters, buoyed from their earlier success, open up on the surviving Huscarls, and claim another! It seems I was very good at rolling ones and letting the Primaris Medicae look on and doing nothing. The Terminators continued their trudge, getting closer to their target, the Dreadnought.
Imperial Fist Turn 3

The Huscarl's advance again towards the Headhunters, and it seems this time they had their shields up. They manage to get into assault this time, without any losses, and wipe the squad out, taking no further injuries. They then consolidate back down the corridor.
The dreadnought continues to move forwards in an effort to block the coming reinforcements.

Alpha Legion Turn 4

The much needed reinforcements arrive, right behind the dreadnought! With Vigilator and sergeant up front, brandishing their melta bombs, they hope to take out the behemoth. The Terminators move up to close the trap. Now there is no where for the dreadnought to go, except through bodies!
Imperial Fists Turn 4

The dreadnought decides to go for the blob of marines with the Warlord in it. The Huscarl's decide to flank the Terminators, and meet up with my reinforcements that finally arrived. Polux and his squad move as quick as they can to get into the action, running as they know time is short.
The dreadnought in lose combat manages to kill the Vigilator and another marine. He does suffer a hull point for his troubles though, however, the close confines of the tiles means that limited numbers can be brought to bear against the Imperial Dreadnought.
Alpha Legion Turn 5

The Terminators move up to relieve the Tactical Marines. With nothing else to do they assault in. The Dreadnought takes a few marines down , but ultimately the Terminators with power fists succeed in destroying the ancient warrior. Their units then consolidate towards Polux and his fresh new squad.

Imperial Fists Turn 5

Polux grieves for the fallen warrior, and pushes his warriors to move faster towards the enemy. The Huscarl's move to link up with Polux and his veteran squad. However at the end they need not bother, as the Alpha Legion signaled the retreat. That is, the game ended here!


So after a very interesting and enjoyable game here are the results.

Imperial Fists:
- 1 VP for killing more units (Attrition),
- 1 VP for having more units alive (Last Man Standing),
- 1 VP for the Vigilator (Slay the Warlord),
- 3 VPs for Apothecary, Headhunters and Vigilator (Search and Destroy).
Total: 6

Alpha Legion:
- 1 VP for the Dreadnought (Search and Destroy).
Total: 1 

So a win to the Imperial Fists! With this win, I successfully take the point, so we now both control a strategic point each in the campaign. We now will move onto the next campaign turn, which will hopefully see some action in the last uncontested strategic point, The Treacherous Ruins. 

I really enjoyed playing the game on a different board, and the Space Hulk tiles were very brutal for movement, but I feel accurately depicted the close confines of the warzone. It remains to be seen if the Imperial Fists can hold this point!

Thanks for looking.

Cheers!

Monday 18 April 2016

Into the breach! Some thoughts on running Zone Mortalis with Space Hulk tiles

I recently played a game of Zone Mortalis against my friend. We don't have the wonderful (and expensive) tiles from Forge World, though I do own a lot editions of Space Hulk, so we thought we would use these close confines to represent our space station in our Duty and Shadow campaign.

Below are a few thoughts on how to use it, though by no means are all these ideas mine, I did collect them from a few places, but I just wanted a single area where I have them, and perhaps add to them as I play more games with this. One thing I will say is that it is very brutal!


Movement

For our games, armies could only be selected from Power Armoured marines (no jump packs), Terminators and Dreadnoughts, Contemptors and Leviathans. We used the following rules, though if the bases went over the tiles, then that was okay. 

Infantry (power armour) could move down the corridors 2 abreast.
Terminators, Deadnoughts, Contemptors, Leviathans could only move down the corridors single file.

All models move as per normal, 6" on the board. 

Shooting

Shooting was still line of sight, as per the normal rules, plus using the additional rules in Zone Mortalis for overwatch.

For blast weapons, we decided that is there was any scatter off the tile, it would instead hit the wall and detonate there.

Close Combat

Again, line of sight is crucial, so you cannot launch an assault if you can't see the target.

Doors

We used doors in our game. It was a given that the standard doors would cost 1" inch of movement to open or close. You could also blast them, so we treated doors as the following with a wound destroying it.

Door
T6
W1

Armies

Due to the very close confines of the game, I realistically think that a game should be no more than 1500pts, in fact our game was 1000pts, which was a good round number. We also found in our game that large units could soak a lot of fire, though did encounter trouble moving about those close confines.

I'm sure there are more things we could add. If you have any suggestions or thoughts on games you have run, please add them in the comments!

Thanks for looking.

Cheers!

Friday 15 April 2016

2500pt Heresy Battle Imperial Fists and Knights vs Knights and Lunar Wolves

I had the opportunity recently to catch up with a friend, and play against his Knights. I've only used Knights twice, so I was interested to see how it would go playing against them. The good thing is we played with completely painted armies on a completely painted board, so it was great to see it all in action.

The mission we rolled up was from Betrayal.
Mission: Dominion
Deployment: Hammer and Anvil

We had 3 objectives (all mid-field) worth 3pts each, Slay the warlord, First Blood, Attrition (extra victory point if you destroy more enemy units than your opponent). In addition everything except Independent Characters, Flyers and Dedicated Transports were scoring.
This did mean the roads would be brutal going down.

This is my 2500pt army. I knew I was going against Knights,  I just didn't know what type and how many, so I went for as much anti-tank as possible.

Imperial Fists with Allied Knights

Legion Praetor Adalwulf
-Terminator Armour
-Storm shield
-Digi-lasers
-Paragon Blade

Primaris Medicae Omni
-Terminator Armour
-Storm Shield
-Solarite Power Glove

6 Huscarls
-3 Thunder Hammers
-2 Chainfists
-6 Storm Shields

Spartan
-Flare Shield
-Armoured Ceramite

Tactical Squad I
Sergeant with
-Power Fist

Tactical Squad III
Sergeant with
-Power Fist

Land Raider Proteus

Land Raider Proteus

Imperial Knight Paladin

Imperial Knight Errant

Knights with allied Luna Wolves
 Cerastus Knight Lancer Seneschal (Warlord)

Questoris Knight Errant Scion Aspirant

Cerastus Knight Acheron Preceptor

Questoris Knight Styrix Scion Arbalester

Luna Wolf Allies:
Chaplian
-Power Maul
-Artificer Armour
-Bolter
-Jump pack

10 Tactical Marines
Sergeant with
-Heavy Chainsword
-Meltabombs

7 Destroyers
-jump packs
-meltabombs
Sergeant with
-Thunderhammer

5 Reavers
-jump packs
-power fist
-2 power swords
-plasma pistol
Sergeant with
-power maul
-hand flamer


The scene is set...
  The traitor deployment.

Imperial Fists deployment.
The traitors get the first turn.
They move everything up. A few shots go off against my Knights, but to no lasting effect. The template on my paladin is a grav template.

Imperial Fists Turn 1
My Knights move up to shoot at the opposing knights. They manage to do 4 hull points to the Styrix, though its flare shield soaks the rest of the shots.
The Spartan 'Victory' unloads on the Errant, along with the Land raider 'Dauntless'. They manage to do 4 Hull points again. The last Land Raider 'Indomitable', can't draw a bead on the Errant, and instead takes some ineffective pot shots against the Lancer.
Traitor's Turn 2.

They moved up their knights, take off quite a few hull points of my Paladin, and then all 3 assault in. His Errant obliterates my Paladin. My Paladin, despite going at the same time, misses with all his attacks. The resulting explosion finishes off the Styrix.
Some new craters to add.
The battle against my Errant goes even worse, despite attacking first (as the knights went through cover), my Errant again misses with all his attacks. He is then quickly annihilated.
Imperial Fists Turn 2. At this stage, I have lost two knights and my friend has lost 1. The Spartan 'Victory', unloads the terminators, and shoots point blank into the Errant, but not enough to kill it. My terminators, then assault it, taking 3 casualties. They succeed in destroying the Errant, but the resultant scatter of 3 inches towards my Terminators, kills them all but my characters and 1 Huscarl. At this stage, with still 2 knights to fight, along with his marines, things were looking shifty.
My other Land Raiders line up and fire on the Knight Lancer, but only succeed in doing 1 hull point damage.
Traitor Turn 3. The Acheron moves up to my Terminators, and manages to splat them convincingly in the assault phase. The Jump Pack marines movie to assault my Spartan. At this stage I wasn't worried as I had armoured ceramite, however, melta bombs are not 'melta', but armourbane, so my spartan just destroyed by my ignorance. The lancer moved to the Land Raider 'Dauntless', and quickly smashed it to pieces, with my tactical squad make a quick disembark.
Clearing the streets.

Imperial Fists Turn 3 sees my Last Land Raider disgorge my tactical squad to shoot at the marines in front of them. I believe I killed 1, maybe 2 from the literal hail of shots pumping into them. The Land Raider again shoots at the Lancer, and scores 1 hull point damage.
My other Tactical squad moves up to the chaplains squad and unloads into them, killing 1 I believe. It was at this stage I thought, perhaps, I might be in trouble.
Traitor Turn 4. The assault marines fly into my tactical marines, and get beaten back, and sent fleeing. The Acheron fluffs its assault move into my Land Raider, buying me one last turn to try and bag their warlord Lancer. My other tactical squad, with El Fisto, gets sandwiched between the chaplains assault squad and the Knight Lancer. Unsurprisingly they get wiped out.
Imperial Fists Turn 4 sees very little. My marines fire heroically into the back of the fleeing jump marine, failing to do anything. The land Raider gets his final shot against the Lancer. If he bags this, then I would have at least have killed his Warlord. I manage to get though with 1 lascannon shot, and do, again, 1 hull point, leaving the Lancer breathing safely on just 1 hull point left.

Despite no other pics, you can certainly see what happened next. Everything dies and that is the game!

Final Victory points
Knights/Luna Wolves: 6
Imperial Fists/Knights: 0

I just couldn't take out the 4 Knights. I do feel my own luck with my knights (them not hitting anything at all), did not make things easy for me. That and not having the first turn, with an extra round of shooting, also meant that the Knights were in combat with only 1 round of shooting into them. The melta-bomb thing was also a good lesson to learn, so I'm glad that came up. Will remember that next time!

So after that slaughter, I did take away a few valuable lessons, and have bumped some things up on my painting table, so I have some more anti-tank weapons.

Still, despite the loss, it was great to play on such a great table with cool models and have a most enjoyable evening. And of course I now know how hard Knights are to play against!

Thanks for looking

Cheers!